

The
time has arrived. Pot up your bulbs and enjoy the beauty of indoor flowers
during the frigid months of January and February.
All
you need is a bit of garage space that goes down to at least 40 degrees for
several months, a few old pots, potting soil, and some early season spring
bulbs, and you are good to go.
Following
is a step-by-step introduction to growing or "forcing" your own bulbs
to bloom in the winter. It is a delightfully fun and mystifying project.

1.
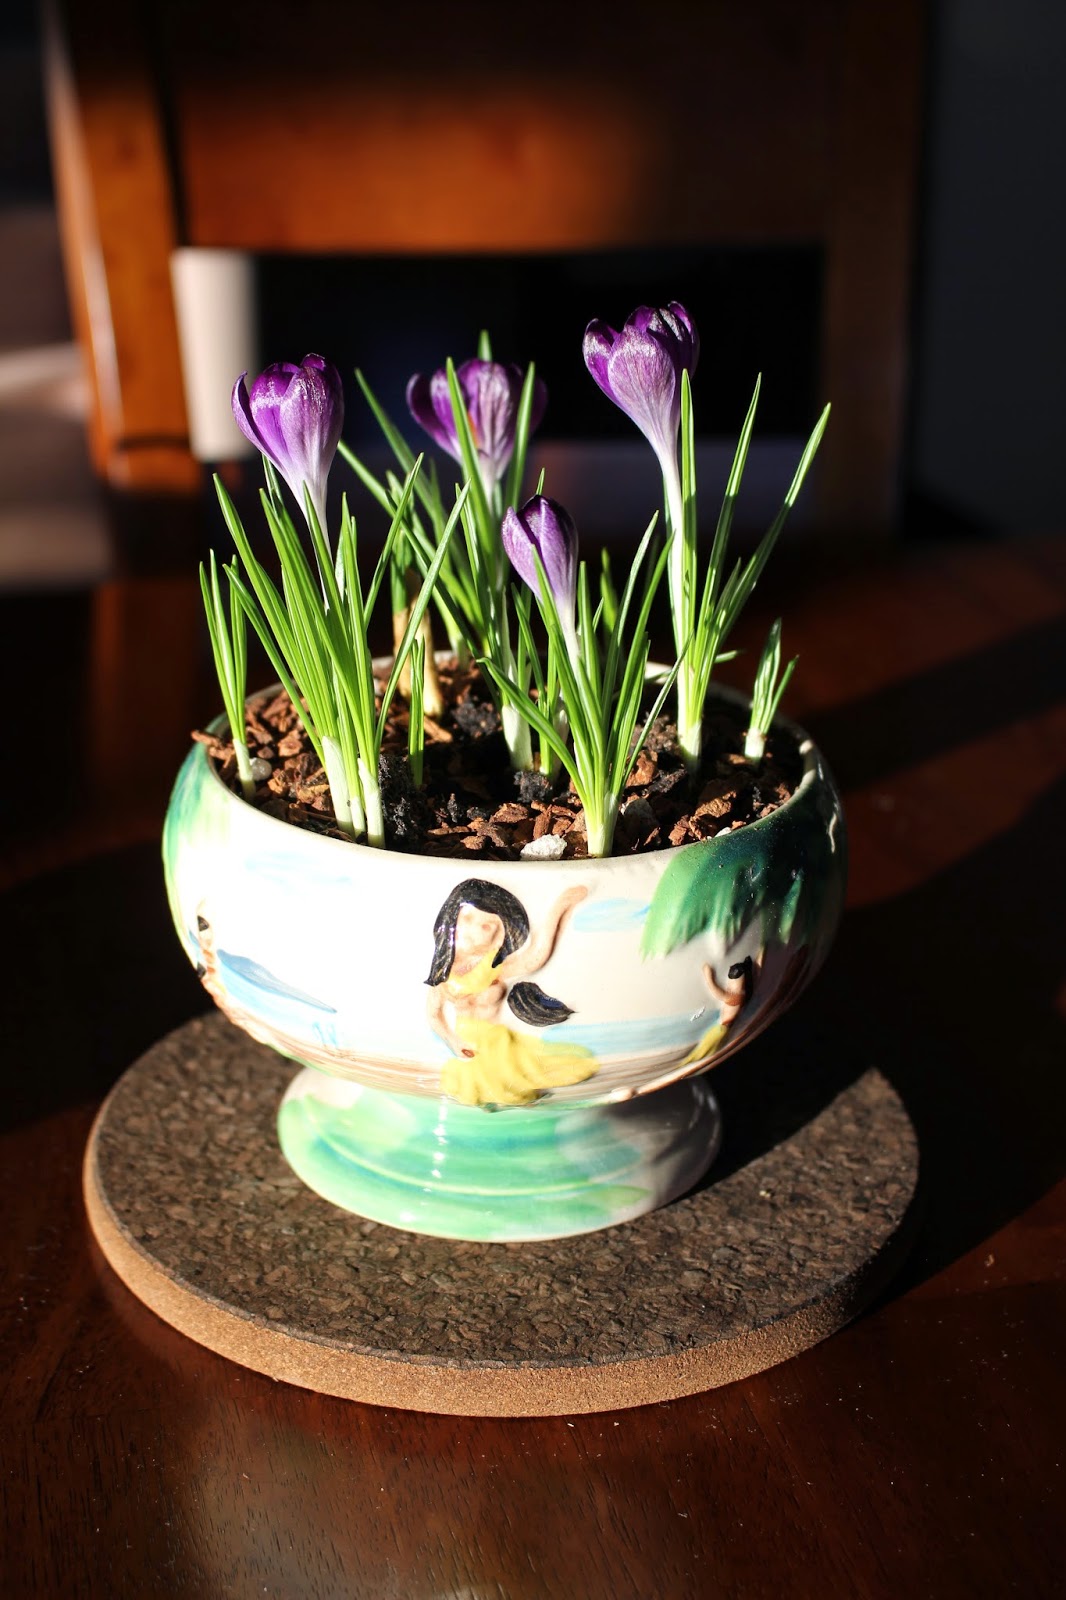
Select some early-season
"hardy" bulbs such as crocus, tulip, narcissus (daffodil) or
hyacinth. Early-season instead of mid-season or late-season bulbs have a better
chance of blooming with the forcing method. Hyacinths are beautiful, but for
me, the long bloom time seemed to put a lot of perfume and pollen into the
house. So now I usually plant crocuses, tulips and daffodils.


2. Old interesting pots discovered in the shed,
at garage sales or at second hand stores can add a spark to your planting. It
helps if the pots have drainage holes, but if you find some you like without
holes, just add gravel to the bottom or be very careful not to over water. I
also use a lot of the old thin plastic pots that bedding plants come in and
then when I am ready to bring the bulbs in the house, I slip them into a nicer
looking flower pot. You can use small pots, except for the daffodils bulbs
which are usually quite large and will need more space and depth.
3. Select some potting soil. If you can find
some heat-treated soil it minimizes the chance of having knats or other insects
hatch out from the soil when it is brought into the warm house. Unfortunately
most name-brand potting soil is not heat-treated. Some greenhouses carry shredded
coconut potting soil which is finer, has fewer large sticks and usually has
less insect problems.
4. If you can find a few old large plastic
buckets or bins these are helpful to put the potted bulbs in while they are
chilling in the garage. The bins keep rodents away from the bulbs and the few
times you water the bulbs they will keep water from running over your garage
floor.

5. Now to get started potting up the bulbs...I
usually try to find a warm fall day I can work outside in the driveway and not
worry about the mess. Sometimes I settle for a cool day. Don't worry about the
directions for depth and spacing of the bulbs. When you force bulbs, you get to
break all the rules. Usually forced bulbs are only good for one season, but
sometimes I've dumped the old bulbs in garden spaces and they have bloomed in a
year or two.

6. Fill your pots half full of damp potting soil.
Arrange your bulbs, tips up. Crocuses will end up one inch below the soil
height, and tulips, daffodils and hyacinths tips will barely be under the soil
or only slightly sticking up. I usually place the same type of bulbs in one pot
due to the varieties of bloom times, but sometimes it is fun to mix them up and
see what happens. Fill in damp soil nearly to the top of the pots, leaving a
half inch below the rim to hold the water when you need to dampen the soil. If
the soil isn't too wet, you may water the bulbs in. Just be careful not to over
water, especially if you use pots without drainage holes.

7. Stack the pots in your large plastic buckets
or bins, cover them with newspaper and place in a cool, dark place. I usually
put mine in the garage. If you are in very cold northern climates, place them
against the interior, back wall of the garage to minimize extreme freezing.

8.
Now you wait—creatively, doing other fun things, of course. Forcing bulbs works
best with a dark, cold period where the temperature is at least as cold as
35-48 degrees. My bulbs have often been in unheated garages when the outside
temperature was often 25 below zero or colder. They did fine. This dark, cold
period is usually followed by a shorter cool, light period of optimally 55
degrees. At one time I had an unheated room in our house that was perfect for
the cool period. But now I just place the pots in the coolest place in the
house, out of direct sunlight for the few weeks of cool temps.
9. Recommended cold periods are 10-12 weeks for
crocuses, and 12-15 weeks for most other bulbs. Cool, light periods are 2-4
weeks to encourage gradual root growth and blooming. So if I plant in October,
I can bring the pots into the house in January. I usually bring in several pots
every couple of weeks to extend the bloom time for a couple of months. If you
stack your pots in the garage you may have to keep an eye on them as temperatures
warm so they don't sprout crooked under the weight of the other pots.

10. Water your pots only lightly in the winter.
Most winters I only water the bulbs twice. You only want them damp, not soaking
wet. Drier is better.
Then
enjoy—flowers in January and February—what fun!

For
more information see Forcing, etc. by
Katherine Whiteside, Workman Publishing, New York or your favorite gardening
website.
